


 简体中文
简体中文 English
搜索结果建议
快速链接
R6DSM FAQ
Q:What transmitters are compatible with R6DSM?
Q:What transmitters are compatible with R6DSM?
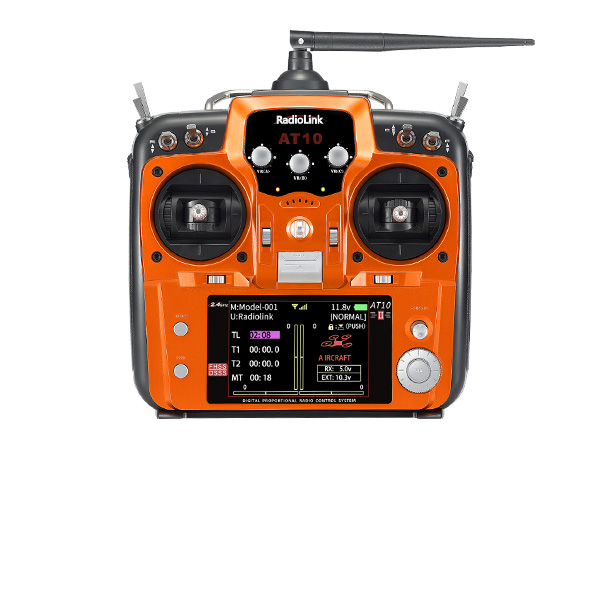
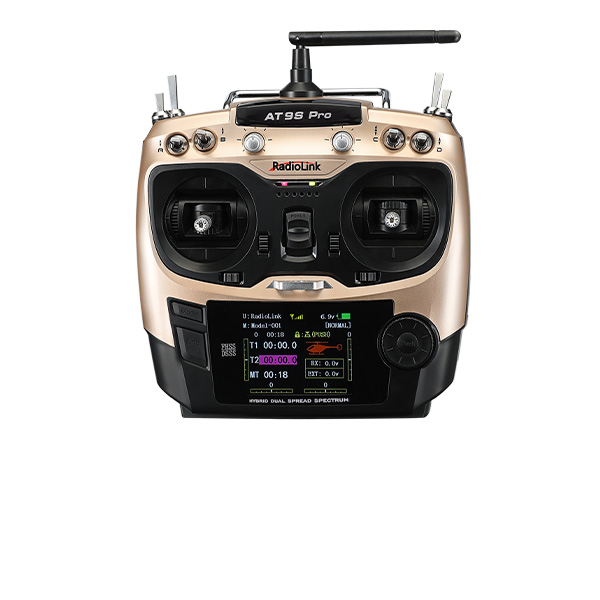
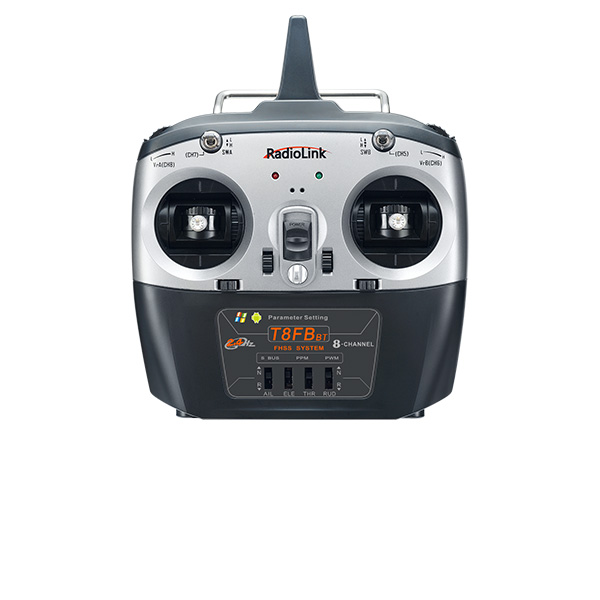
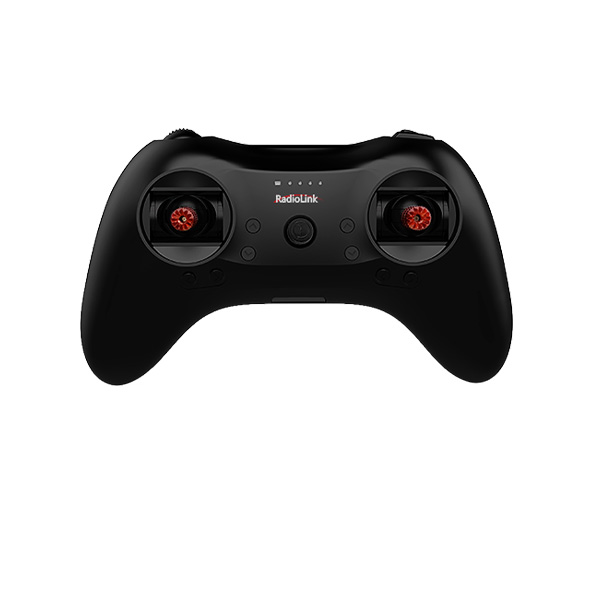
A:R6DSM is compatible with RadioLink AT9/AT9S/AT9S Pro/AT10/AT10II.
Q:How to bind R6DSM to RadioLink transmitter?
Q:How to bind R6DSM to RadioLink transmitter?
A:
1. Put the transmitter and the receiver close to each other (about 50 centimeters) and power both on.
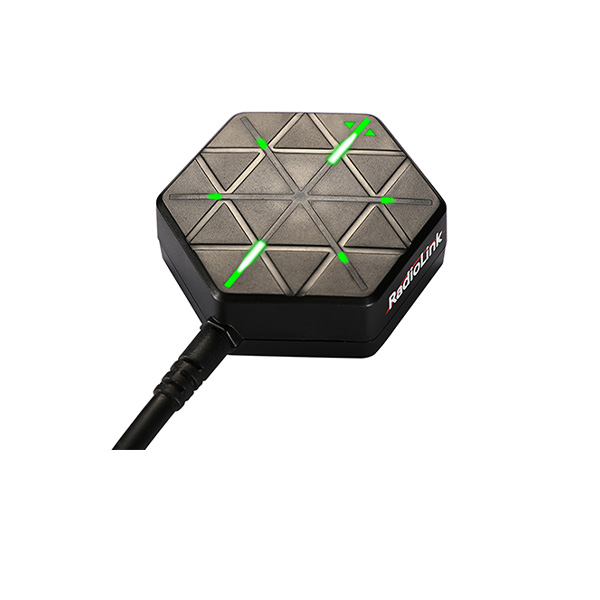
2. Switch on the transmitter and the LED of R6DSM will be on.
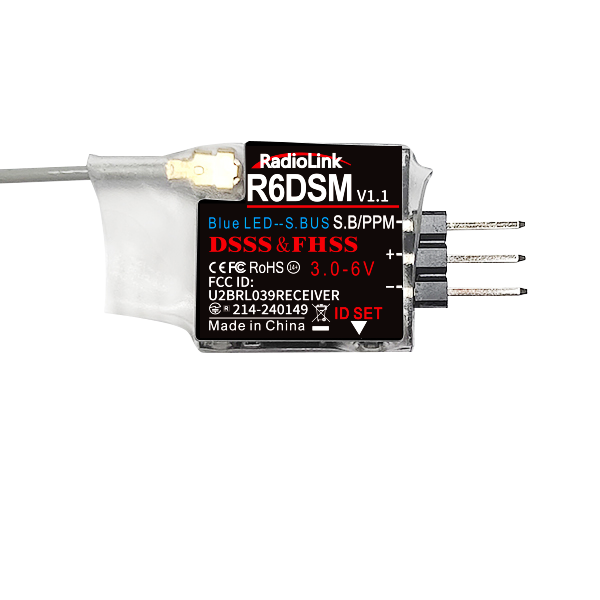
3. There is a black binding button (ID SET) on the side of receiver. Press the button for more than 1 second and release, the LED will flash quickly, meaning binding process is ongoing.
4. When the LED stops flashing and is always on, binding is complete and there will be a signal tower shown on top of the screen of the transmitter.
Q:What signal output does R6DSM support?
Q:What signal output does R6DSM support?
A:There are totally 10 channels of S-BUS/PPM signal output.
Blue/purple LED, S-BUS signal, 10 channels totally.
Red LED, PPM signal, 10 channels totally.
Short press the binding button (ID SET) twice within 1 second to switch the S-BUS signal to PPM signal. When the Red LED is on, signal output is PPM. When the Blue/purple LED is on, signal output is SBUS.
Q:Why the LED of R6DSM is off after it’s powered on?
Q:Why the LED of R6DSM is off after it’s powered on?
A:
1. Check if the battery is charged.
2. Check if the polarity is correctly connected.
3. Check if the connection between the receivers and the power supply is good.
Q:Why the vehicle can’t be controlled after the binding between R6DSM and transmitter is done?
Q:Why the vehicle can’t be controlled after the binding between R6DSM and transmitter is done?
A:First, check if the power supply of the receiver and the transmitter is ok.
Then modify the channel quantity of the transmitter (AT9/AT9S/AT10/AT10II) as 10 to work with R6DSM, the 10-channel receiver.
Press Mode button to enter BASIC MENU => Rotate the dial to select SYSTEM and Enter => Set CH-SELECT as 10CH.
Q:When R6DSM works with AT9S, why the control range is more limited than 600 meters (in air) as advertised?
Q:When R6DSM works with AT9S, why the control range is more limited than 600 meters (in air) as advertised?
A:
1. Check if the antenna of transmitter and receiver is damaged or welded joint
2. Check if there’s interference resources like electricity substation or high voltage cable or WIFI nearby.
3. Check the RSSI value.
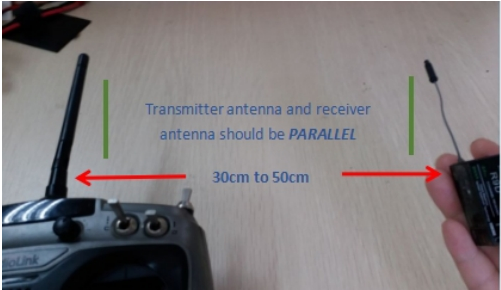
① Power on the transmitter and receiver with both antennas parallel and straight and within the distance of 30cm.
② Then check the RSSI value. Range between 0~-30dBM is normal and if the value gets closer to 0, the signal is stronger.
Q:Why is there no response when pressing the binding button (ID SET) of R6DSM?
Q:Why is there no response when pressing the binding button (ID SET) of R6DSM?
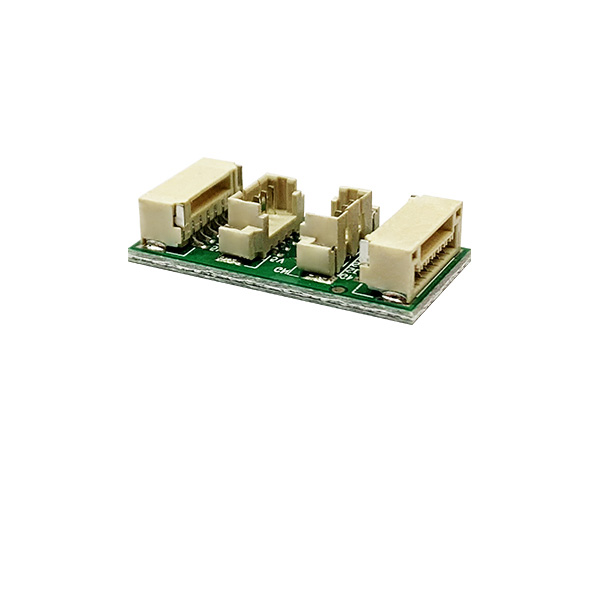
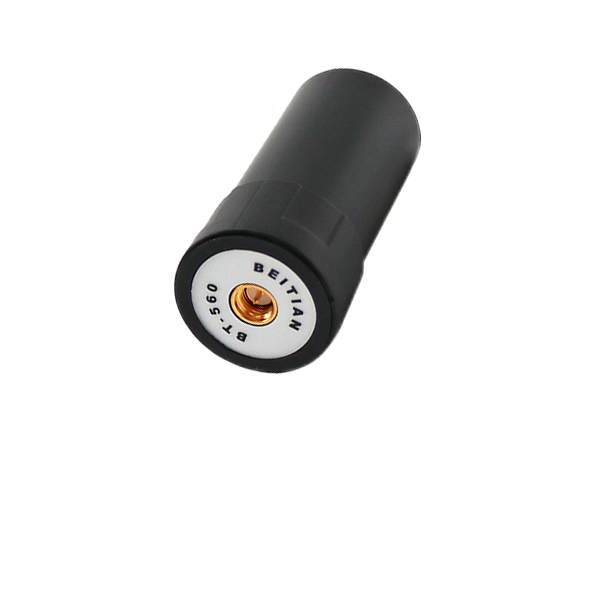
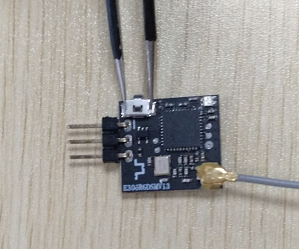
A:Please try short circuit binding with metal. Remove the cover of the receiver and power it on, use a metal accessory to touch the silver pad on both sides of the binding button to do the binding or signal output switch as below picture shows. If there’s still no response, the receiver may get burnt and needs to be repaired.
Q: The servos shake violently. How to fix it?
Q: The servos shake violently. How to fix it?
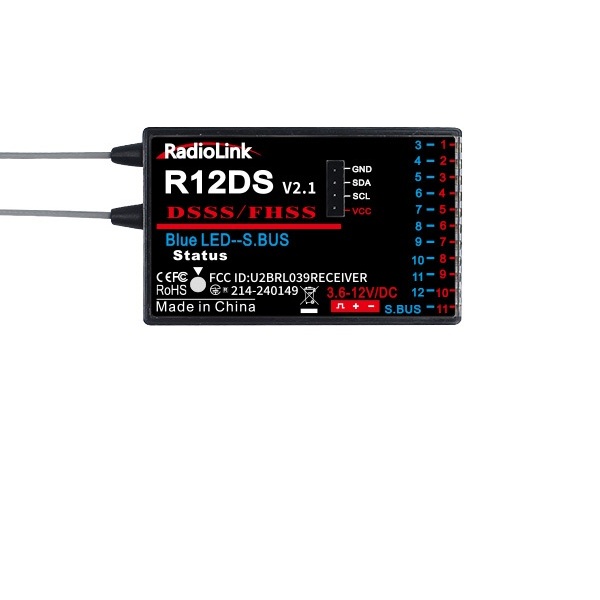
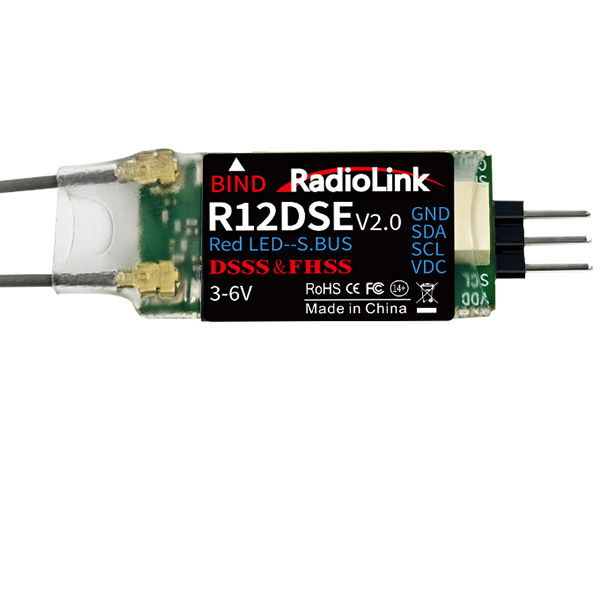
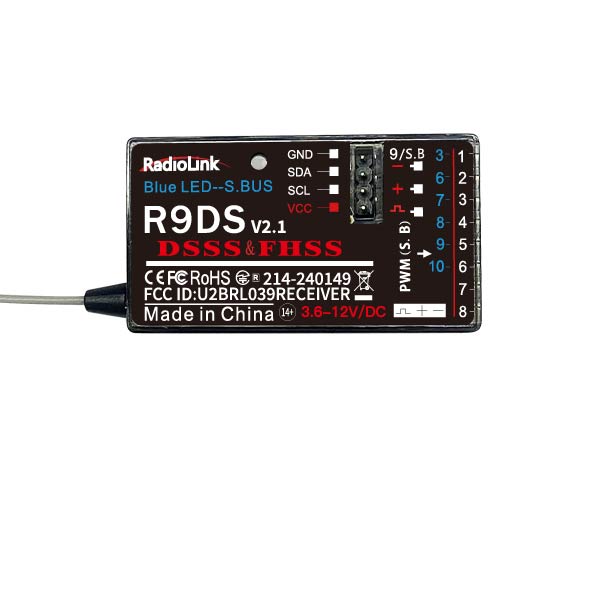
A: When using different receivers, you need to set CH-SELECT on AT10II/AT9S Pro/AT10/AT9S/AT9. Select 10CH for R9DS/R6DS/R6DSM receiver and select 12CH for R12DS/R12DSE/R12DSM receiver. If the selection is wrong, the servos will shake violently and cannot work well.
Here is a tutorial of it for your reference:
https://www.youtube.com/watch?v=gB4pu0t3F2s
Q: Can AT10II/AT9S Pro/AT10/AT9S/AT9 be bound to multiple receivers at the same time?
Q: Can AT10II/AT9S Pro/AT10/AT9S/AT9 be bound to multiple receivers at the same time?
A: Yes. You can bind them one by one. When binding one of the receiver, other receivers need to be powered off. After you have bound all the receivers to AT10II/AT9S Pro/AT10/AT9S/AT9, power on all the receivers, the transmitter can control all the receivers at the same time.
Q: The receiver cannot be bound to AT10II/AT9S Pro/AT10/AT9S/AT9. Why?
Q: The receiver cannot be bound to AT10II/AT9S Pro/AT10/AT9S/AT9. Why?
A: Could you please follow the below methods to troubleshoot the problem?
1.Check if you have turned on the RF-MODE on the transmitter. Enter Basic menu-PARAMETER--RF-MODE. Set RF-MODE to ON.
2.Then please follow the binding tutorial to bind the receiver to the transmitter:
https://www.youtube.com/watch?v=lXy2UGFACa8
3.You can replace another receiver to have a try to confirm if the problem comes from the receiver or the transmitter.
4.If the problem still exists, please send a binding tutorial to after_service@radiolink.com.cn to confirm the problem.
Q: The control range is short. How to troubleshoot the problem?
Q: The control range is short. How to troubleshoot the problem?
A: 1. Please test RSSI. Here is the tutorial of RSSI testing: https://www.youtube.com/watch?v=jr7ad-_MVoI
2.Check the antenna condition of the transmitter and the receiver.
3.Make sure the antenna is not near the metal or carbon fiber materials.
4.Please replace another receiver to have a try. It can help to confirm if the problem comes from the receiver or the transmitter.
Q: How to test RSSI with AT10II/AT9S Pro/AT10/AT9S/AT9 transmitter and receivers?
Q: How to test RSSI with AT10II/AT9S Pro/AT10/AT9S/AT9 transmitter and receivers?
A: Please follow this tutorial: https://www.youtube.com/watch?v=jr7ad-_MVoI
Q: How to supply power to the receiver without using the ESC?
Q: How to supply power to the receiver without using the ESC?
A: Please follow this tutorial: https://www.youtube.com/watch?v=nquuvM3hmtw
Q: How to output the RSSI value from the receiver to FPV when the transmitter is AT10II/AT9S Pro/AT10/AT9S/AT9, the flight controller is F4/ F7/ F722/F405, and the receiver is R12DS/R12DSE/R12DSM/R9DS/R6DS/R6DSM?
Q: How to output the RSSI value from the receiver to FPV when the transmitter is AT10II/AT9S Pro/AT10/AT9S/AT9, the flight controller is F4/ F7/ F722/F405, and the receiver is R12DS/R12DSE/R12DSM/R9DS/R6DS/R6DSM?
A: Please follow the guide: https://radiolink.com.cn/attransmitter_betaflight_rssi_output
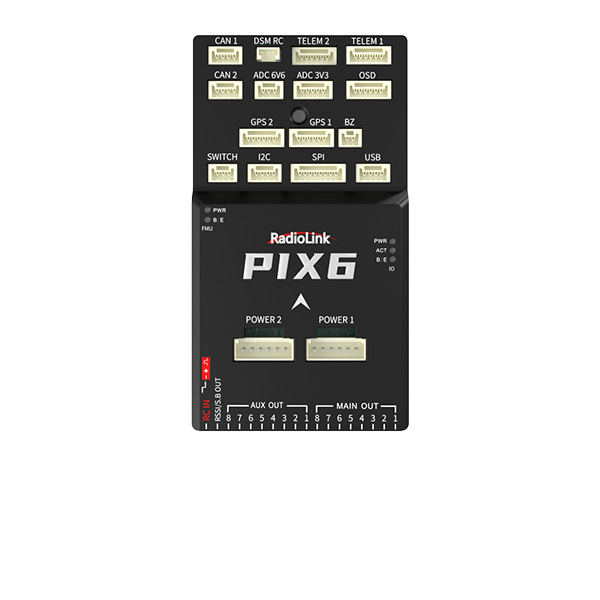
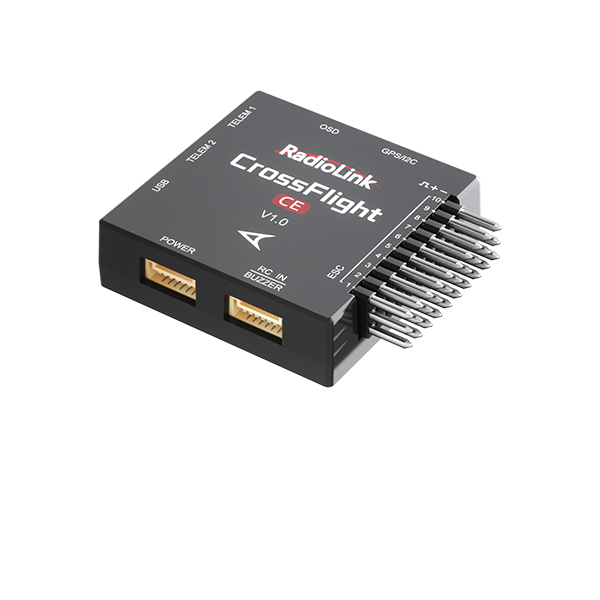
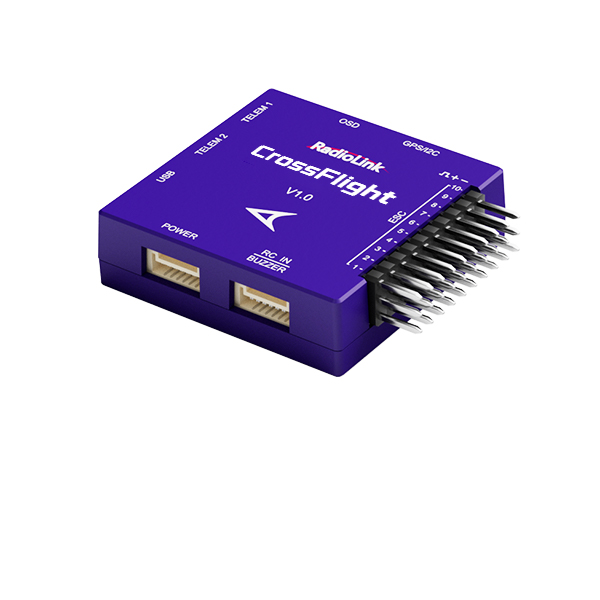
Q: How to output the RSSI value from the receiver to FPV when the transmitter is AT10II/AT9S Pro/AT10/AT9S/AT9, the flight controller is PIX6/PIXHAWK/CrossFlight/CrossFlight-CE/CrossRace/CrossRace Pro/Mini Pix, and the receiver is R12DS/R12DSE/R12DSM/R9DS/R6DS/R6DSM?
Q: How to output the RSSI value from the receiver to FPV when the transmitter is AT10II/AT9S Pro/AT10/AT9S/AT9, the flight controller is PIX6/PIXHAWK/CrossFlight/CrossFlight-CE/CrossRace/CrossRace Pro/Mini Pix, and the receiver is R12DS/R12DSE/R12DSM/R9DS/R6DS/R6DSM?
A: Please follow the guide: https://radiolink.com.cn/attransmitter_pixhawk_rssi_output


 简体中文
简体中文- English